How to design your book’s interior pages on the Xpress Publishing Platform
Having a professional layout shows your readers and distributors that you have designed your book, keeping in mind the book’s usability and their reading experience. But a lot of times certain crucial technical aspects of designing tend to go amiss, thereby revealing to your readers that you’re a rookie. We built the Interior Formatting tool on the Xpress Publishing Platform to solve just this.
The Interior Formatting tool simplifies an otherwise complex designing process to allow you to create a beautiful and professional book layout in a matter of minutes.
What’s amazing about the Interior Formatting Tool is that it can automatically generate a universally compliant book interior file with the Title Page, Copyrights Page, Table of Contents, Front Matter, Body Text and End Matter.
The tool currently works well for novels, poetry and non-fiction books that have limited images. It is not recommended to use the tool for photo books, academic books or books with complex tables, equations and those that are heavy on images.
The tool has some pretty cool layouts for all supported genres. You can check how each page of the book will appear in the layout you choose as and when you compose the page. This makes it really easy to structure the interior of the book. All you’ll have to do is copy-paste the content onto the platform and it lets you set the content in the layout of your liking.
Let me show you how you can do this.
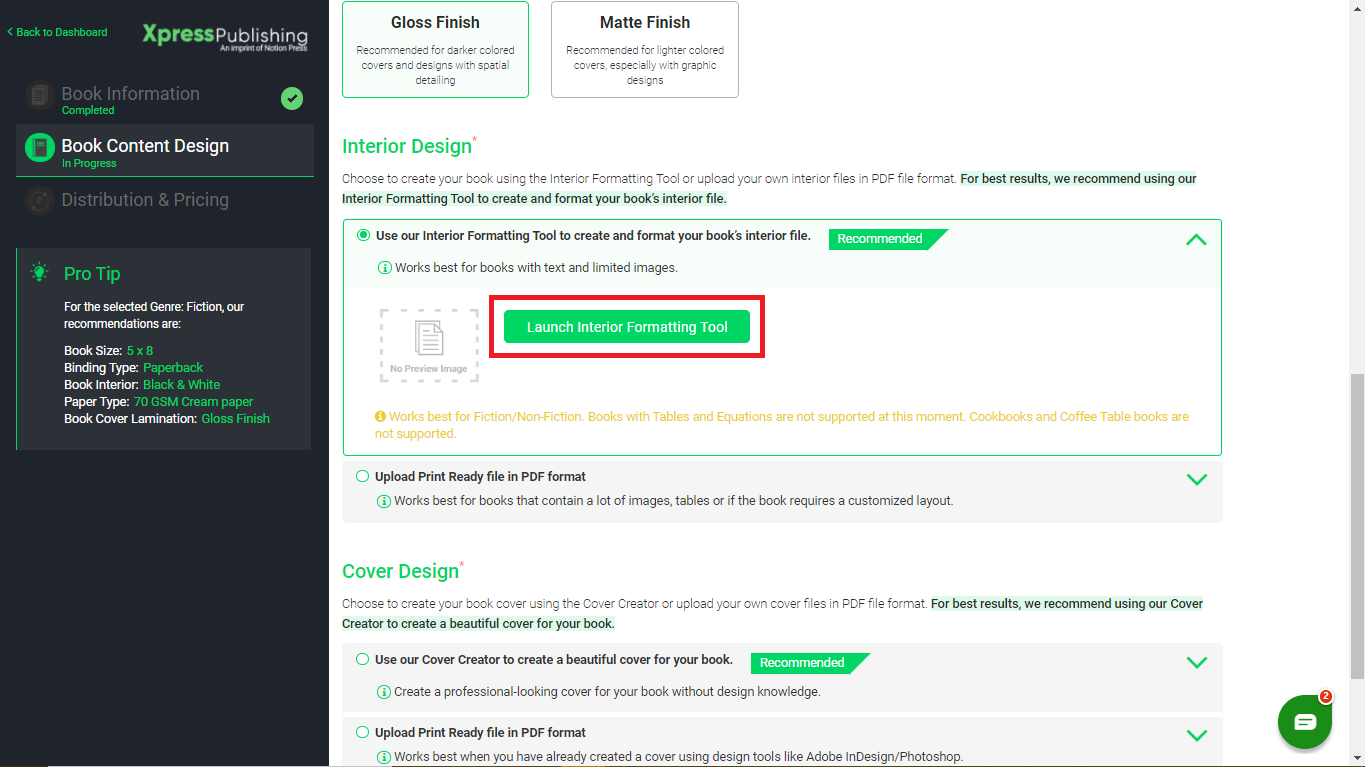
Under the Book Content Design, select the “Launch the Interior Formatting Tool” option.
Introduction to the Interior Formatting Tool
As soon as you launch the Interior Formatting Tool, you will see the various features you can use to create a beautiful layout for your book.
Left Panel
The black-colored panel on the left houses features to help you build the structure for your content. There are three sections- Front Matter, Body Text and End Matter.
The Front Matter consists of the Dedication, Preface, Foreword, Acknowledgement, etc. You can also add a new Front Matter page here.
The Body Text is where you can break your content into chapters.
The End Matter of a book usually consists of the Epilogue, Glossary, Bibliography and also References and Citations. You can add any of these sections based on what your book requires here.
Top Bar
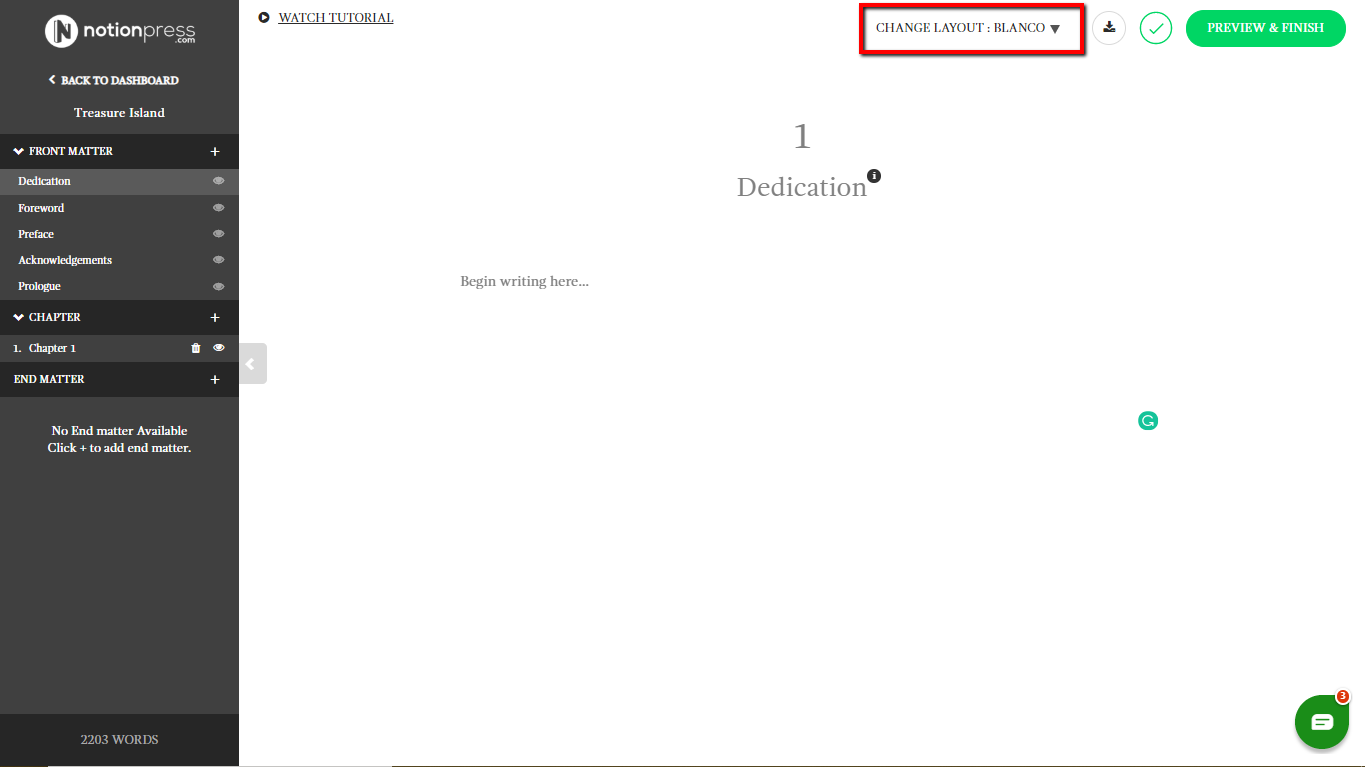
The top bar has all the different layouts you can choose for your book. Here you also have an option to download the formatted book once you finish adding your text.
Text Formatting Bar
The text formatting bar has all the features you would find on any text editing software like Microsoft Word. You can use the options here to align your text, create headings, make text bolder or underlined, or create quotations. You also have an option to add images to your book here.
Getting Started – Creating a Professional Book Layout
Selecting Your Book’s Layout
This is the first step in designing a professional layout for your content. On the top bar, you will see the “Change Layout” option. Clicking on it will provide you with a selection of beautiful layouts for your book.
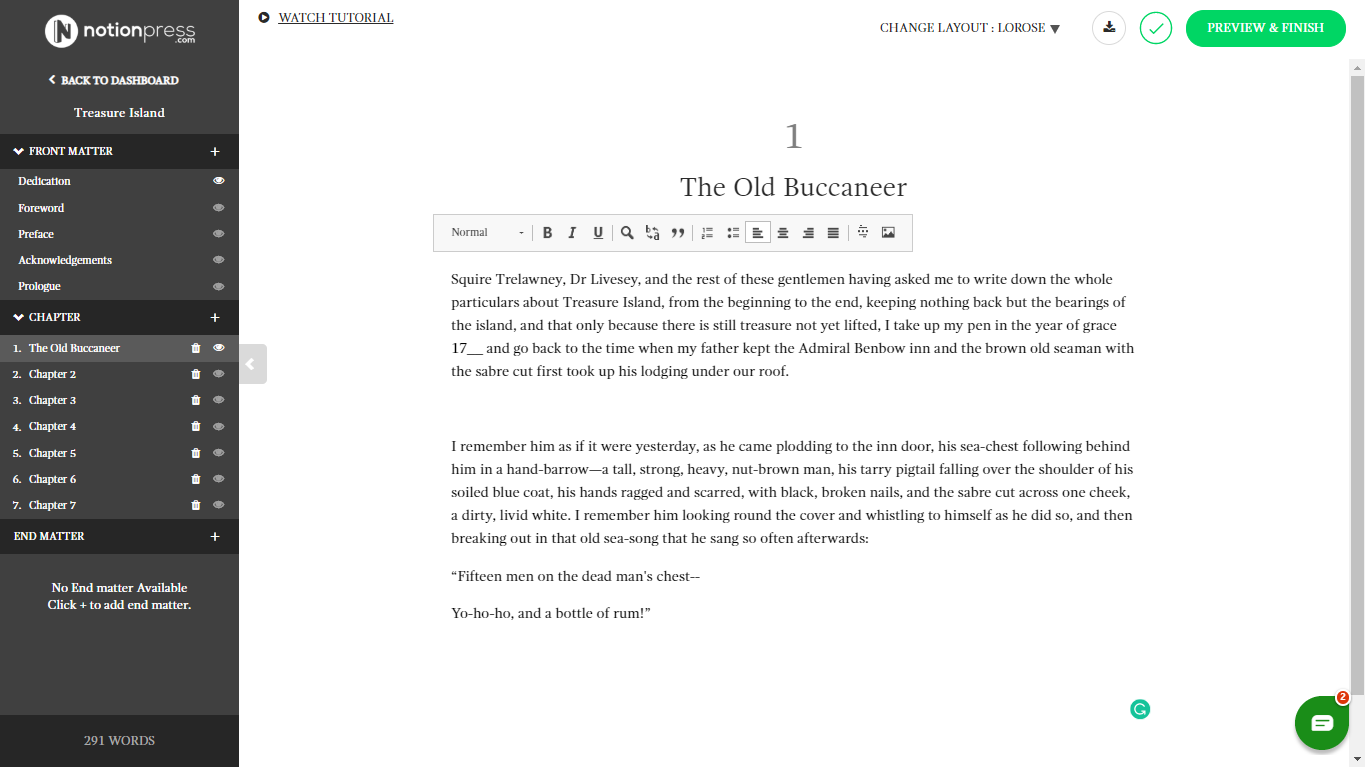
Click on the layout that is most suitable for your book and the tool automatically applies the selected layout for the content you add. The layout formats each page and paragraph into a style that follows international guidelines. It also makes sure that each new chapter starts on the right, adds blank pages wherever necessary as well as headers and page numbers.
Adding Different Sections to Your Book
The tool lets you add content in three parts – front matter, body text and end matter.
It already has several pre-set front matter sections like Dedication, Foreword, Preface, Acknowledgments, etc.
Simply add text in the sections you want and leave the sections you don’t want blank. The tool will automatically detect and ignore the blank section while creating the final layout.
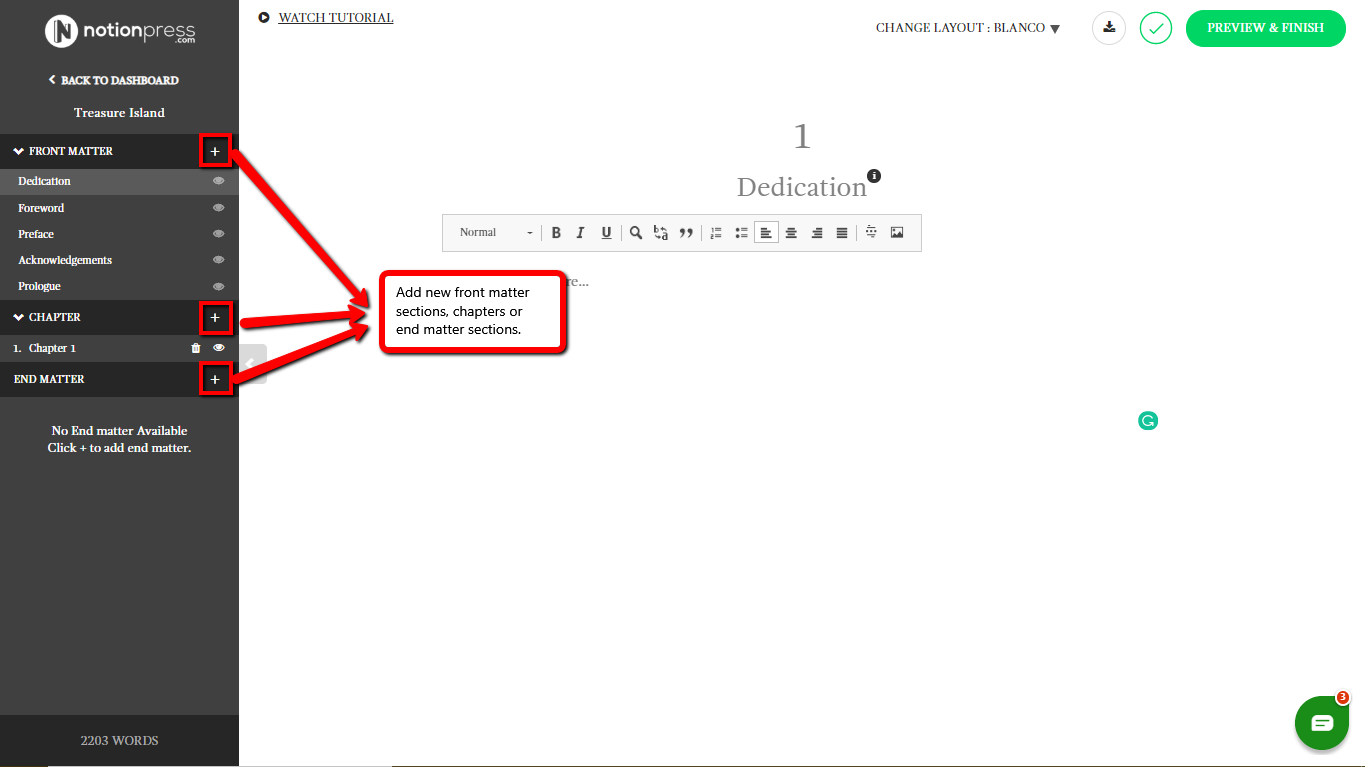
You can also create new front matter sections by clicking on the plus ‘+’ sign next to the FRONT MATTER section.
PS: Don’t worry about adding the Table of Contents page. The tool will automatically generate this page after you add all your text and choose a layout.
In the body text and end matter, you can add part pages, chapters and new sections as per your book’s needs by clicking the + sign next to the CHAPTER section.
Adding Your Content:
To add the content from your manuscript to this tool, simply copy and paste the text here as per the sections you have chosen to have in your book.
Formatting Your Text
As you begin adding your text, you will see a formatting bar with options to add special formatting like bold, italics, underline, text alignment, blockquotes, lists, and section breaks, etc.
![]()
Adding Images To Your book:
On the same formatting bar, you will also find an option to add images to your book. Here’s a tip- To ensure a better printing quality, only add images that have a resolution of 300 dpi or higher, otherwise, images will appear blurry affecting the reading experience.
![]()
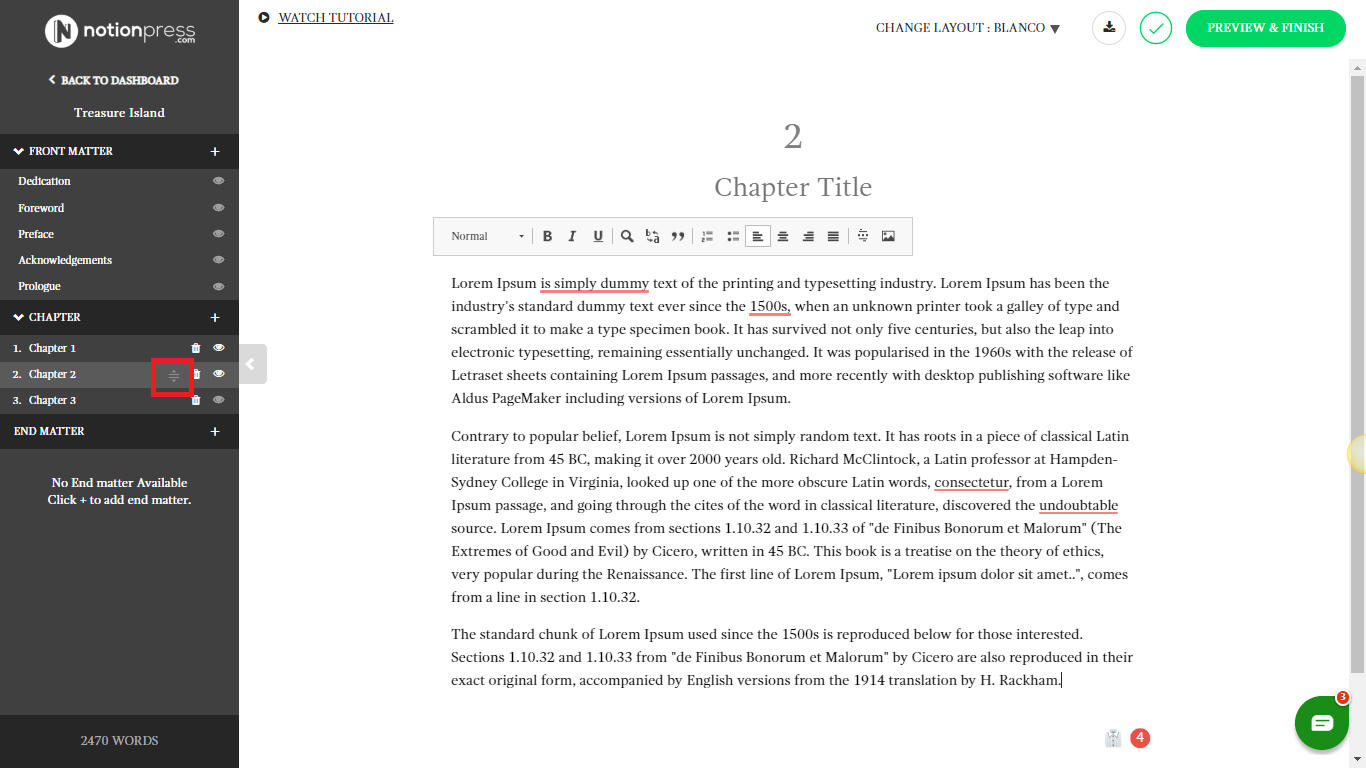
Compiling and Arranging Your Content:
You can also Rearrange chapters by simply clicking and dragging your section up or down to your desired order of chapters.
Delete sections you don’t want by clicking on the Trash/Bin image next to the chapter title.
.
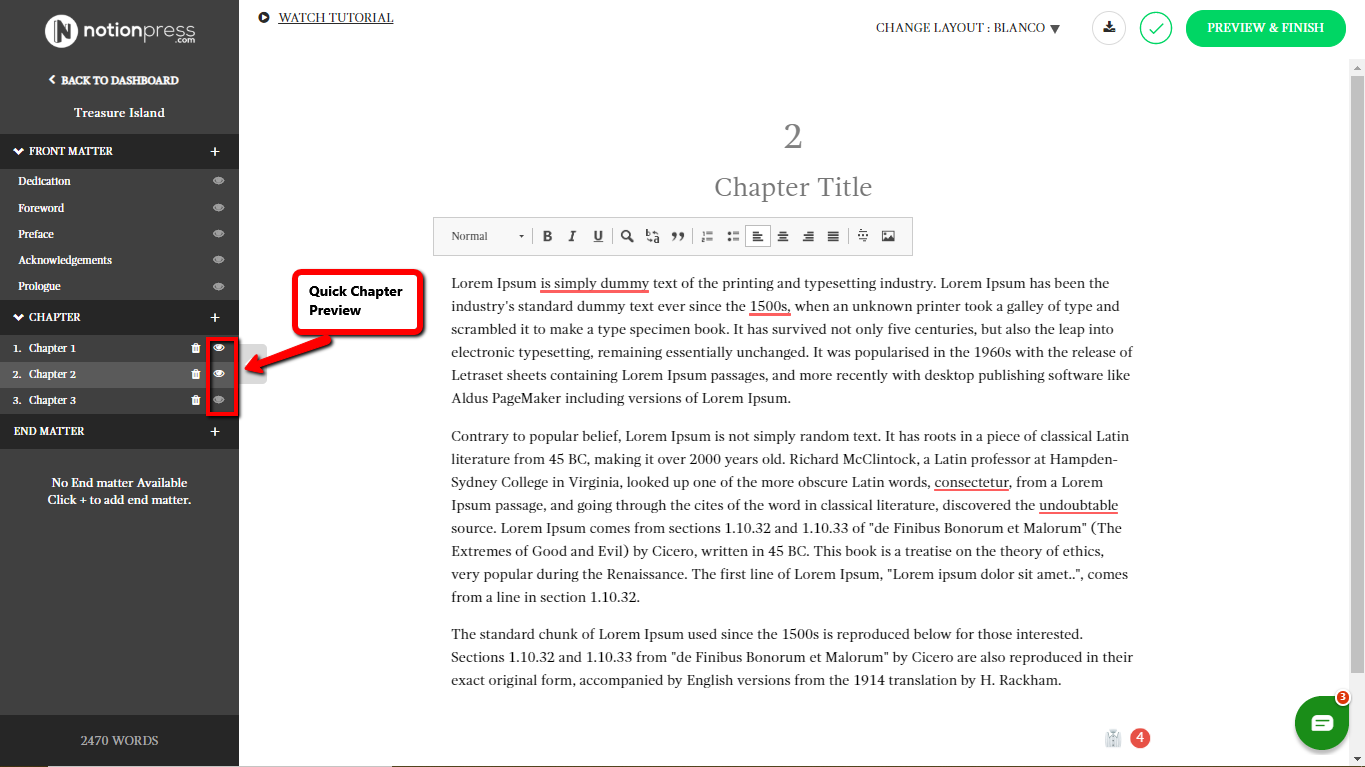
Chapter Preview:
You can see how each chapter looks as and when you add your content. This is a great feature to help you see how each chapter/section will look when printed. Once you preview the chapter, you can quickly go back and make changes in your content or formatting. Click on the eye image next to each Chapter Title to view the chapter’s preview in the selected layout.
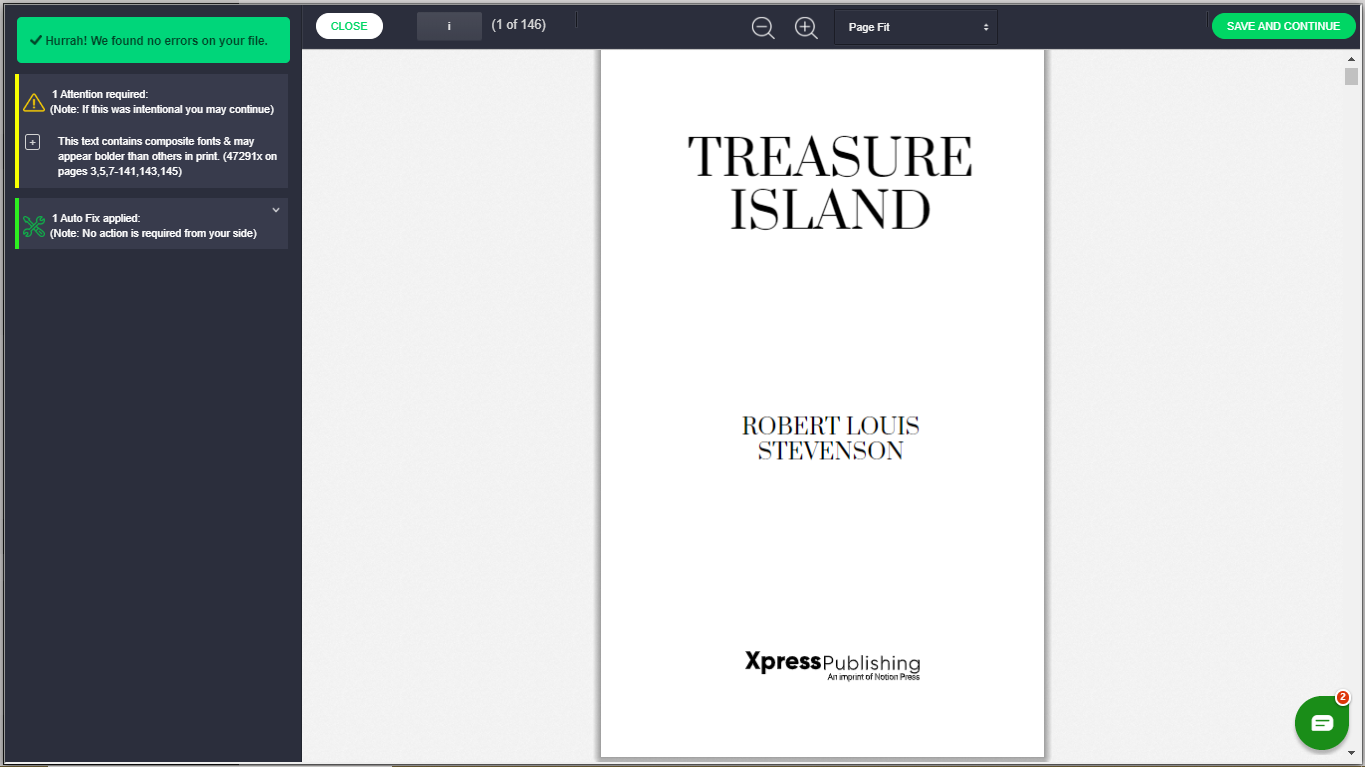
Preview and Finish:
Once you’ve set up all the chapters in your book and are happy with the outcome, click on the ‘Preview & Finish’ button on the top right corner to check how your whole book will look when printed. You will also see that the tool has also auto-generated your table of contents page at this stage. If you are happy with the final output, you can ‘Save and Continue’ to the next step in your book publishing process.
And, that’s it! In just a matter of minutes, you’ve created a professional book layout that matches International book standards.